Table of Contents
Testing cement at site-5 simple methods:
Here are five simple on-site tests you can perform using basic, readily available equipment. These tests will help you assess material quality and build confidence before proceeding with further construction work.
Visual and lump test
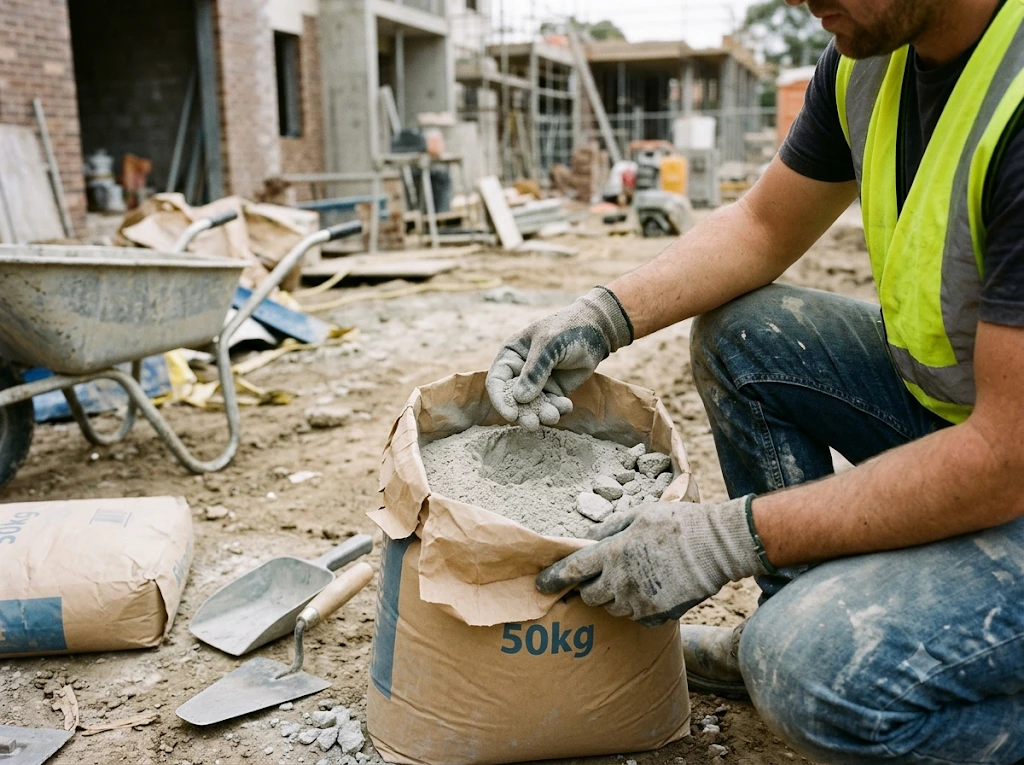
Good-quality cement features a uniform grey color accompanied by a light greenish hue. A pronounced greenish tint, however, can signal an excess of clay or lime.
Checking for lumps immediately upon opening a cement bag is a critical step in evaluating cement quality. Lumps serve as a clear indication that the cement has been exposed to external moisture, leading to a loss in binding strength and threatening the overall stability of the structure. Consequently, any cement bag containing lumps must be promptly rejected, and an alternative supplier or manufacturer should be contacted to safeguard construction integrity.
Temperature test
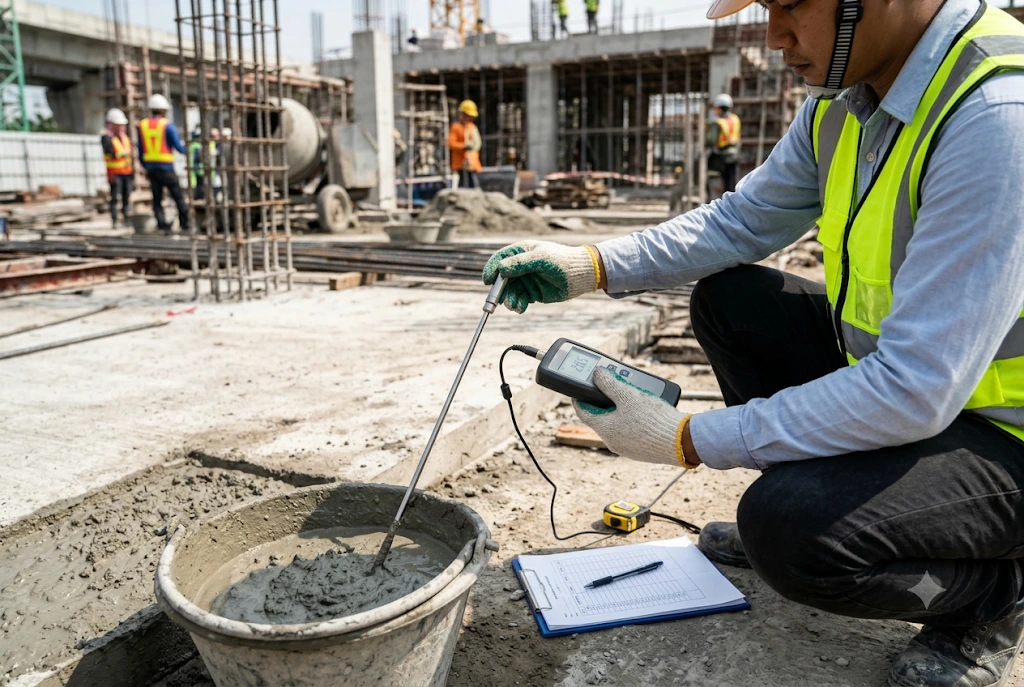
Performing temperature testing is vital for engineers to guarantee structural integrity.
To execute a field temperature test on cement, open a fresh bag and insert your clean, dry hand into the powder. A cool feeling indicates that the cement is fresh and has not been exposed to moisture. On the other hand, if it feels warm or hot, contact with air and moisture has already initiated the hydration process, rendering the batch unsuitable for structural applications.
For concrete temperature testing, gather a representative sample of freshly mixed concrete following ASTM C172/C172M standards (obtained from a bucket, the forms, or transit mixer discharge) and transfer it to a non-absorbent container.
To conduct a field temperature test on cement, open a new bag and plunge your clean, dry hand into the contents. A cool tactile sensation confirms the cement is fresh and free from moisture exposure. Conversely, if it feels warm or hot, hydration has already begun due to contact with air and moisture, making the batch unfit for structural use.
Soundness Test
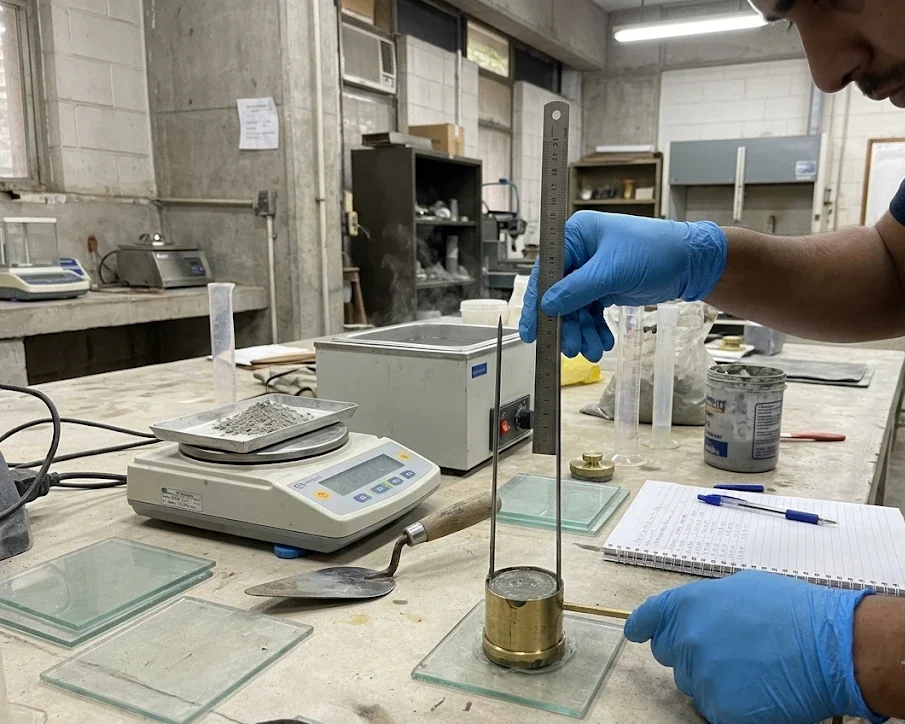
As the primary binding agent in construction, cement holds entire structures together. However, adequate structural strength should never be assumed. The soundness test serves as a simple yet vital evaluation to verify whether cement will maintain its integrity over time or suffer from cracking and long-term deterioration. By acting as an essential quality control measure, this test guarantees that the cement is suitable for building safe, durable structures. Below is a summary covering the purpose, importance, and step-by-step procedure of the soundness test to ensure reliable, long-lasting performance.
Procedure to test the soundness of cement
- Place the lightly oiled mould on a lightly oiled glass sheet and fill it with cement paste formed by gauging cement with 0.78 times the water required to give a paste of standard consistency.
- Cover the mould with another piece of lightly oiled glass sheet, place a small weight on this covering glass sheet and immediately submerge the whole assembly in water at a temperature of 27 ± 2°C and keep there for 24 hours.
- Measure the distance separating the indicator points to the nearest 0.5 mm. Submerge the mould again in water at the temperature prescribed above.
- Bring the water to boiling, with the mould kept submerged, in 25 to 30 minutes, and keep it boiling for three hours. Remove the mould from the water, allow it to cool and measure the distance between the indicator points.
- The difference between these two measurements indicates the expansion of the cement. This must not exceed 10 mm for ordinary, rapid hardening and low heat Portland cements. If in case the expansion is more than 10 mm as tested above, the cement is said to be unsound.
Water float test
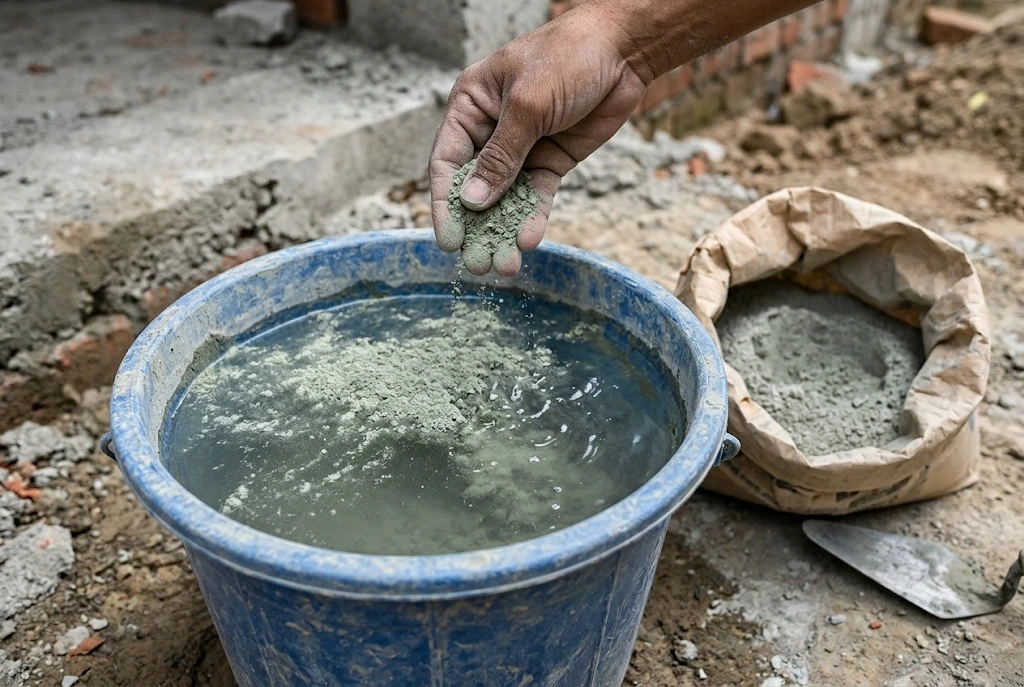
To conduct the field water float test, take a small quantity or handful of cement and gently sprinkle it across the surface of a bucket filled with clean water. Premium-grade cement will briefly float before sinking to the bottom. Conversely, low-quality or adulterated cement sinks almost instantly because of dense impurities, helping you easily evaluate its purity and relative density. Interested in mastering cement testing techniques and essential building tips? Be sure to explore our complete guide.
Step-by-step process for performing the float test on-site: Take a small sample of cement powder and carefully drop it onto the surface of a container filled with fresh water.
Pat\cake strength test
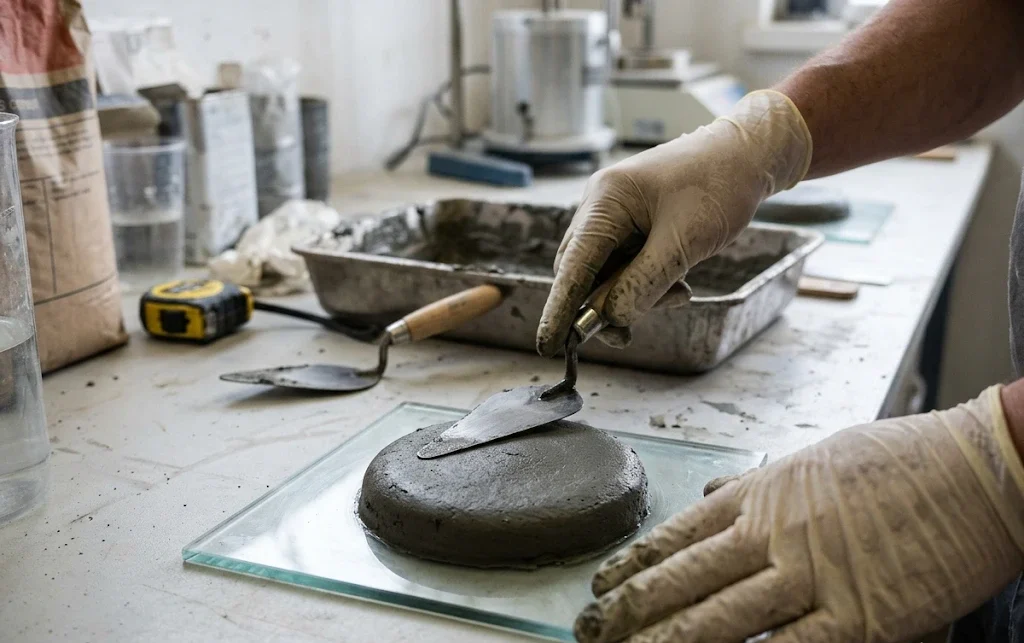
The cement pat/cake test (often called the Le Chatelier Pat Test or Boil Test for Soundness) is a qualitative method used to check the soundness of cement meaning its ability to retain volume without cracking, warping, or disintegrating after setting.
- Prepare the Paste: Take approximately 100 grams of the cement sample and mix it thoroughly with a small amount of water to form a uniform, stiff paste.
- Mould the Cake: Shape the stiff paste into a circular “pat” or cake on the flat glass plate. Ensure that the cake is formed with sharp, well-defined edges.
- Submerge the Sample: Carefully take the glass plate with the cement cake and slowly lower it under water to the bottom of the bucket. Do this gently so the original shape and edges of the cake are not disturbed.
- Curing Window: Leave the cement cake completely submerged in the water undisturbed for 24 hours.
Partner with Mangalore’s Trusted Construction Experts, building a resilient commercial or residential property in coastal Karnataka requires uncompromising material quality. Partnering with Sri Lakshmi Construction eliminates the risks of poor material sourcing and on-site blind spots. Our expert civil engineering team rigorously vets and tests all raw materials, ensuring your project meets the highest structural safety standards from foundation to finish.
FAQs
1. Why is on-site cement testing necessary before starting construction?
Even if you use high-grade sand and steel, weak or moisture-damaged cement compromises the entire structure. Testing cement before mixing ensures it has not absorbed moisture, begun premature hydration, or lost its binding strength—preventing hidden cracks and structural failures later on.
2. What is the fastest way to check cement quality right after opening a bag?
Perform the Visual and Lump Test alongside the Temperature Test:
Color & Lumps: Fresh cement should have a uniform grey color with a slight greenish tint and be completely free of hard lumps. Any presence of lumps means moisture has entered the bag, and it should be rejected.
Temperature: Insert a clean, dry hand into the cement powder. Fresh cement feels cool; if it feels warm, premature hydration has already started, making it unsuitable for structural work.
3. What does the cement water float test indicate?
The water float test checks for purity and adulteration. When you sprinkle a handful of good-quality cement onto clean water, it floats briefly on the surface before sinking. If the cement sinks immediately, it likely contains heavy impurities or adulterants.
4. What is the difference between the Le Chatelier Soundness Test and the Pat/Cake Test?
Both tests check whether cement will retain its volume without cracking or expanding excessively after setting:
Le Chatelier Soundness Test: A formal laboratory procedure using a specialized mould and boiling water to measure exact expansion (which must not exceed 10 mm for standard Portland cements).
Pat/Cake Test: A simpler, qualitative check where a stiff cement paste shaped into a sharp-edged cake on a glass plate is submerged in water for 24 hours to inspect for warping, cracking, or disintegration.
5. Why is material testing especially critical for construction in Mangaluru and Coastal Karnataka?
High humidity, heavy monsoon rains, and coastal moisture in regions like Mangaluru and Udupi accelerate cement degradation if bags are stored improperly at yards or on-site. Strict pre-construction vetting ensures that dampness hasn’t weakened the cement before it goes into your foundation or slabs.